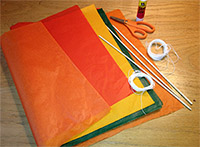
Materials:
– 3 or 4 Sticks for the frame.
– Glue
– Tissue paper (different colors)
– String
– A needle
Instructions:
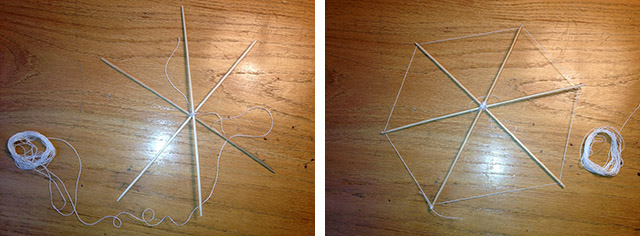
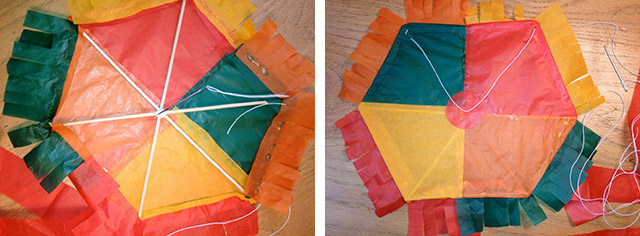
First get the sticks, you can use as many as 3 or 4 sticks. Put the sticks together forming an hexagon or an octagon depending of how many sticks you are going to use, and the shape that you want to give to your kite.
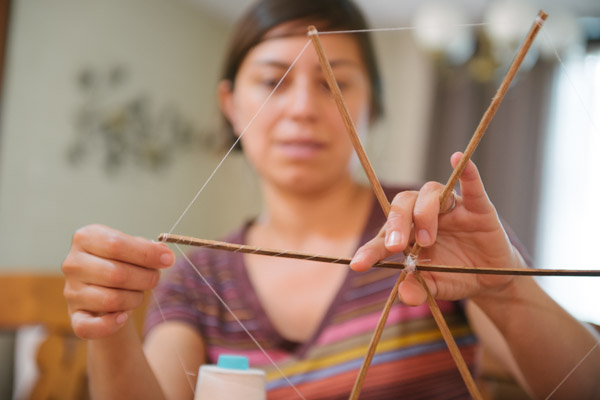
At the center of your frame, tie your sticks using a piece of string. Afterwards using the same string, you can either wrap the string around the end of each stick or if is easier you can make little cut in the middle of each stick so you can fit the string in between the cut.
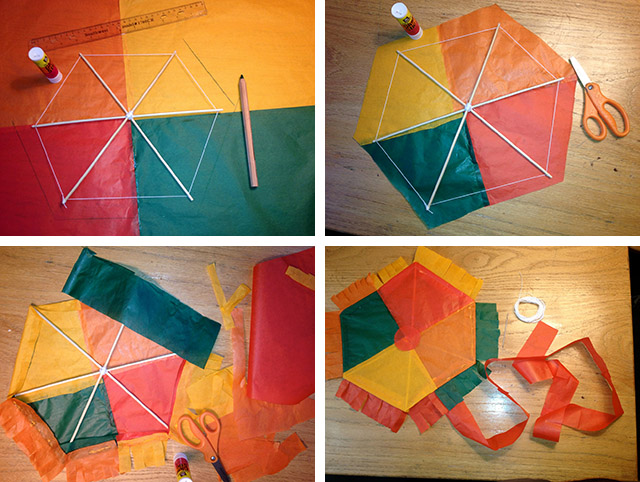
Get a variety of tissue paper, think about the design you want to give to your kite. This would make it unique and yours. After knowing what colors of tissue paper you will use, start cutting your own design.You can then assemble your design, just make sure the design is bigger than the size of the frame (sticks) and don´t use to much glue.
Using glue, paste the tissue paper to your frame by wrapping the ends of the tissue paper over the edges of your frame. Once again be careful to not use to much glue.
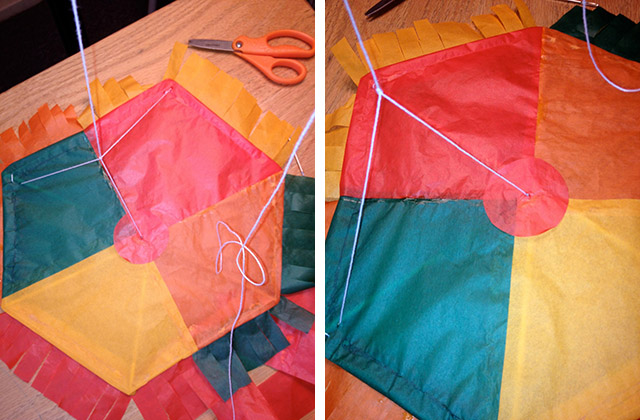
After the tissue paper with the design has been pasted on to the frame, you need a needle with thread. You will need to tie the string around two sides of the frame to keep the kite steady when flying. Start by piercing the tissue paper with the needle and thread, wrapping the thread around one side of the frame two times and then take your needle to the other side of the frame to do the same. Make sure to leave enough free string between the two sides so that if you were to hold the string in the middle of the kite it should form a subtle “V” shape, starting with each side of the kite and rising in the center. Tie everything off.
Now, take an additional piece of string and tie it to the center of the kite, wrapping it twice around the frame once again. Bring the string back to the center of the string you tied in the previous step and tie it to the center. Now if you were to hold the strings at the center, it should form the shape of a pyramid.
Lastly, from the center of your strings tie one last piece of string which will be used as the string that you hold to fly the kite. You may want to leave this one on a spool.
At this point you are ready to attach your tail, if you decide you can paste tissue paper on the sides of your kite the options are endless and once the glue has dried it is time to go fly!
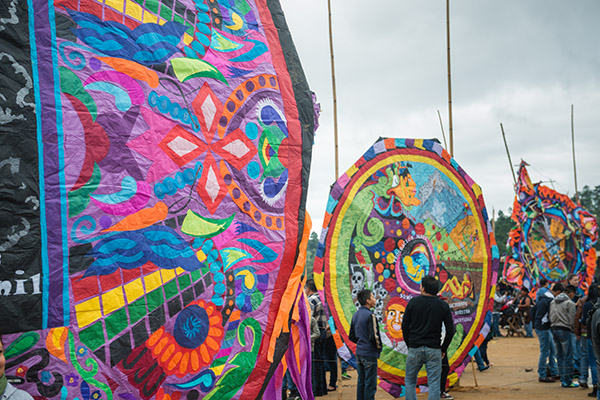
In Guatemala, kites such as these are flown every year on a much grander scale!

thank you so much that helped me so much
Many thanks for simplifying the kites making… and the story is amazing.
Again, I am grateful to you for allowing us to continue sharing my childhood traditions. Has something changed in your barriletes making? It has for me…